When a jam occurs, a message indicating the jam location and information to clear the jam appears on the display. Open the doors, covers, and trays indicated on the display to remove the jam.
Notes:
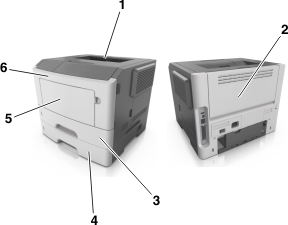
Area | Control panel message | What to do | |
|---|---|---|---|
1 | Standard bin | [x]-page jam, clear standard bin. [20y.xx] | Remove the jammed paper. |
2 | Rear door | [x]-page jam, open rear door. [20y.xx] | Open the rear door, and then remove the jammed paper. |
3 | Tray 1 | [x]-page jam, remove tray 1 to clear duplex. [23y.xx] | Pull Tray 1 completely out, then push the front duplex flap down, and then remove the jammed paper. Note: You may need to open the rear door to clear some 23y.xx paper jams. |
4 | Tray [x] | [x]-page jam, remove tray [x]. [24y.xx] | Pull the indicated tray out, and then remove the jammed paper. |
5 | Multipurpose feeder | [x]-page jam, clear manual feeder. [250.xx] | Remove all paper from the multipurpose feeder, and then remove the jammed paper. |
6 | Front door | [x]-page jam, open front door. [20y.xx] | Open the front door, then remove the toner cartridge, imaging unit, and jammed paper. |