Cleaning printer parts

Cleaning the printer

Note: You may need to perform this task after every few months.
Warning—Potential Damage: Damage to the printer caused by improper handling is not covered by the printer warranty.
  1. Make sure that the printer is turned off and unplugged from the electrical outlet.

    shock hazard caution icon CAUTION—SHOCK HAZARD: To avoid the risk of electrical shock when cleaning the exterior of the printer, unplug the power cord from the electrical outlet and disconnect all cables from the printer before proceeding.
  2. Remove paper from the standard bin and multipurpose feeder.

  3. Remove any dust, lint, and pieces of paper around the printer using a soft brush or vacuum.

  4. Dampen a clean, lint-free cloth with water, and use it to wipe the outside of the printer.

    Warning—Potential Damage: Do not use household cleaners or detergents to prevent damage to the exterior of the printer.
  5. Make sure all areas of the printer are dry before sending a new print job.
Cleaning the charger and the printhead lens

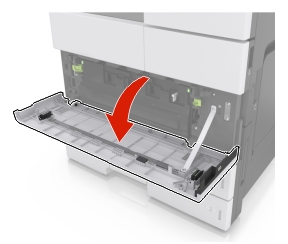
  1. Open the bottom front door.

    Bottom front door being opened
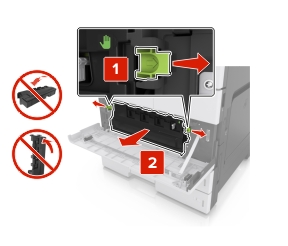
  2. Remove the waste toner bottle.

    Levers being released and then the waste toner bottle being removed
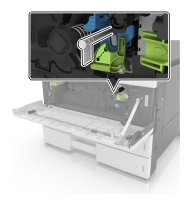
  3. Locate the white tab.

    Location of the white tab
  4. Gently pull the tab until it stops, and then slowly slide it back into place. Repeat three times.

    Charger being cleaned
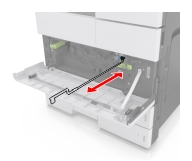
  5. Remove the printhead wiper.

    Wiper being removed
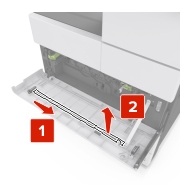
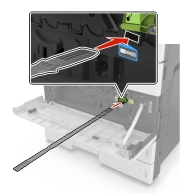
  6. Insert the wiper into the hole until it stops, and then slide it out. Repeat three times.

    Printhead lens being cleaned
  7. Put the wiper back to its holder.

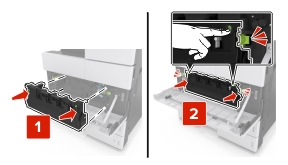
  8. Reinstall the waste toner bottle.

    Waste toner bottle is reinstalled
  9. Close the bottom front door.

Emptying the hole punch box

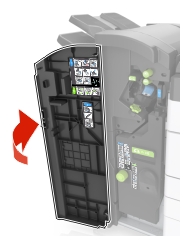
  1. Open door H.

    Door H is opened.
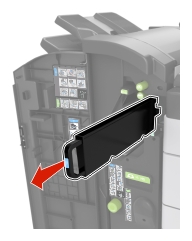
  2. Remove and empty the hole punch box.

    The hole punch box is removed.
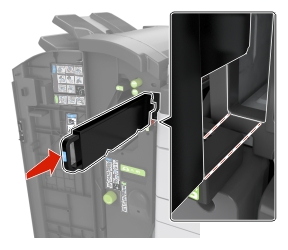
  3. Reinstall the hole punch box.

    The hole punch box is reinstalled.
  4. Close door H.