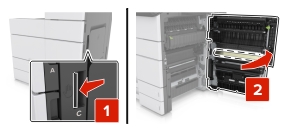
Turn off the printer.
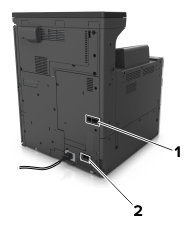
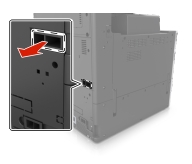
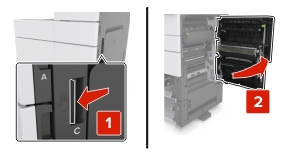
Open door C. Make sure that it does not hit any cable
attached to the printer.
 | CAUTION—HOT SURFACE: The inside of the printer might be hot.
To reduce the risk of injury from a hot component, allow the surface
to cool before touching it. |
| Note: If the 3000-sheet tray is installed, then slide the tray
to the right to open the door. |
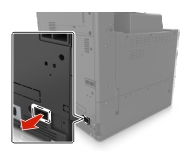
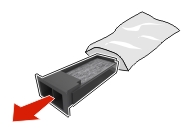
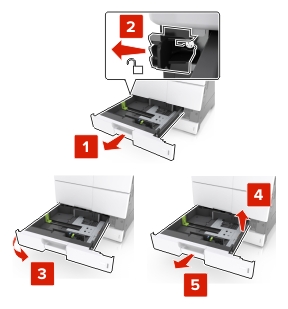
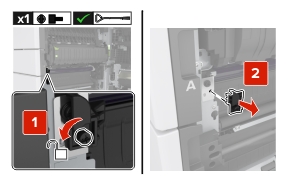
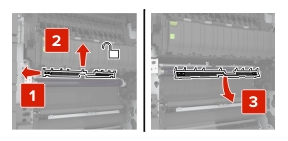
Remove the door stopper.
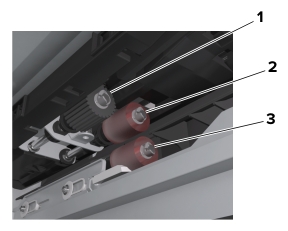
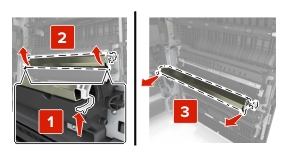
Loosen the screws of the transfer module lock.
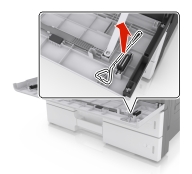
Remove the paper guide.
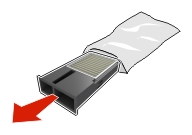
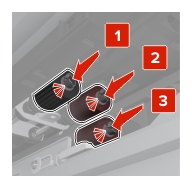
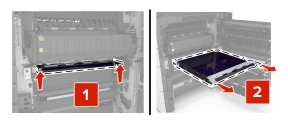
Lift the transfer module using the handles, and then pull
it out completely.
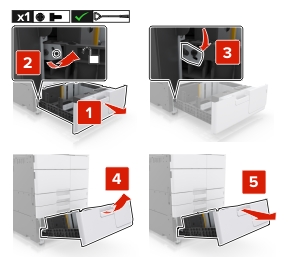
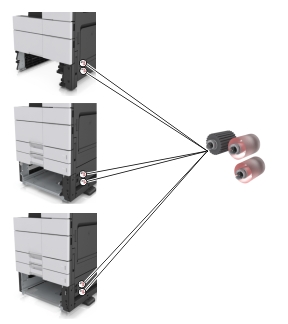
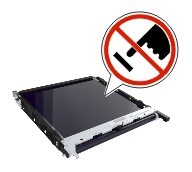
Unpack the new transfer module.
| Warning—Potential Damage: Do not expose the transfer belt to direct light for more
than 10 minutes. Extended exposure to light may cause print quality
problems. |
| Warning—Potential Damage: Do not touch the transfer belt. Doing so may affect the print
quality of future print jobs. |
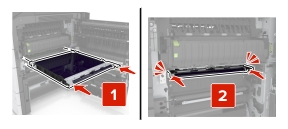
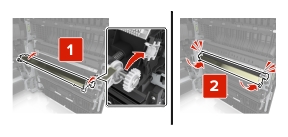
Insert the new transfer module until it clicks into place.
Place the paper guide back into place.
Tighten the screws of the transfer module lock.
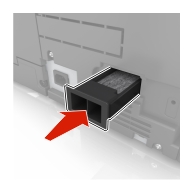
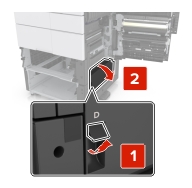
Reinstall the door stopper.
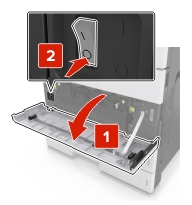
Close door C.