Paper jam in the printer
| Note: The parts inside the printer are sensitive. Avoid unnecessarily touching these parts while clearing jams. |
Check the jam clearance area
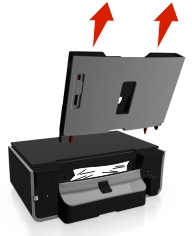
Lift the scanner unit.

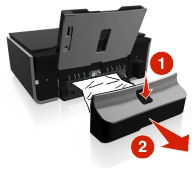
Remove the jam clearance cover.

Notes:
- Squeeze the snap to lift the jam clearance cover.
- Make sure that the printhead is moved to the side and away from the jammed paper.
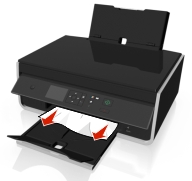
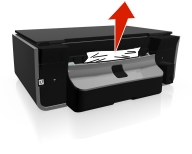
Firmly grasp the paper on both sides, and then gently pull it out.
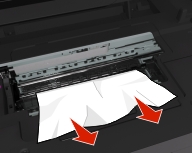
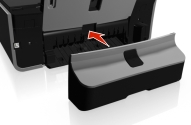
Note: Make sure all paper fragments are removed. Reattach the jam clearance cover until it clicks into place.
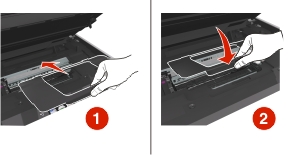
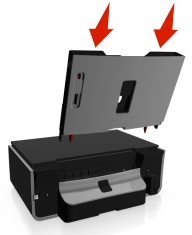
Close the printer.
Touch OK or press
 , depending on your printer model.