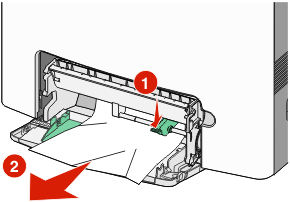
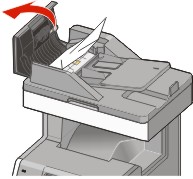
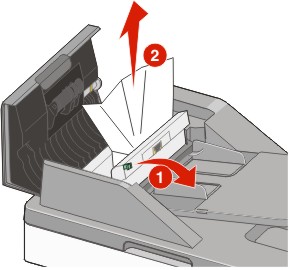
By carefully selecting paper and loading it properly, you can avoid most jams. If jams do occur, follow the steps outlined in this section.
To clear a jam message and resume printing, clear the entire paper path, and then touch Continue. If Jam Recovery is set to On, then the printer prints a new copy of the page that jammed. If Jam Recovery is set to Auto, then the printer reprints the jammed page if enough printer memory is available.
The following hints can help you avoid jams:
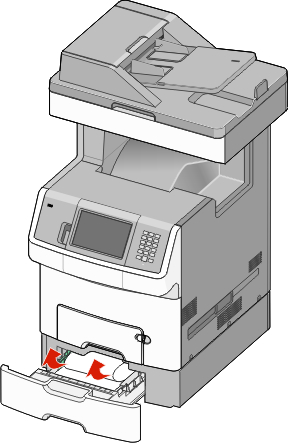
Make sure the paper lies flat in the paper tray.
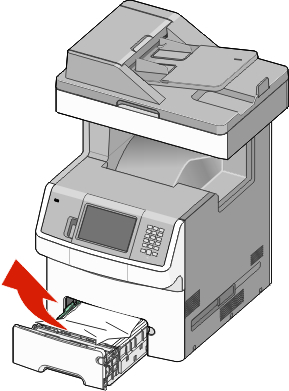
Do not remove the paper tray while the printer is printing.
Do not load the paper tray while the printer is printing. Load it prior to printing, or wait for a prompt to load it.
Do not load too much paper. Make sure the stack height does not exceed the indicated maximum height.
Make sure the guides in the paper tray or the manual feeder are properly positioned and are not pressing too tightly against the paper or envelopes.
Push the paper tray in firmly after loading paper.
Use only recommended paper or specialty media.
Do not load wrinkled, creased, damp, bent, or curled paper.
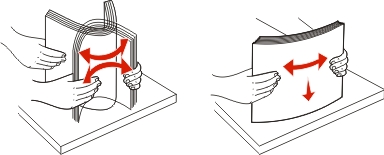
Flex, fan, and straighten paper before loading it.
Do not use paper that has been cut or trimmed by hand.
Do not mix paper sizes, weights, or types in the same stack.
Make sure all sizes and types are set correctly in the printer control panel menus.
Store paper per the manufacturer's recommendations.
The following table lists the jam messages that can occur.
Message | See |
---|---|
200 Paper jam, check [area name] | |
200 Paper jam, [x] pages jammed | |
201 Paper jam, check [area name] | |
201 Paper jam, [x] pages jammed | |
202 Paper jam, check [area name] | |
202 Paper jam, [x] pages jammed | |
203 Paper jam, check [area name] | |
203 Paper jam, [x] pages jammed | |
230 Paper jam, [area name] | |
230 Paper jam, [x] pages jammed | |
241 Paper jam, check [area name] | |
241 Paper jam, [x] pages jammed | |
24x Paper jam, check [area name] | |
24x Paper jam, [x] pages jammed | |
250 Paper jam, check [area name] | |
250 Paper jam, [x] pages jammed | |
290 Scanner jam, remove all originals from the scanner | |
290 Scanner jam, remove jammed originals from the scanner | |
291 Scanner jam, remove all originals from the scanner | |
291 Scanner jam, remove jammed originals from the scanner | |
292 Scanner jam, remove all originals from the scanner | |
292 Scanner jam, remove jammed originals from the scanner | |
293 Replace all originals if restarting job | |
293 Replace jammed originals if restarting job | |
293.02 Flatbed cover open | |
293.02 Replace jammed originals if restarting job | |
294 Scanner jam, remove all originals from the scanner | |
294 Scanner jam, remove jammed originals from the scanner | |
294.01 Scanner jam, remove all originals from the scanner | |
294.01 Scanner jam, remove jammed originals from the scanner |
Open the upper front door.
![]() | CAUTION—HOT SURFACE: The inside of the printer might be hot. To reduce the risk of injury from a hot component, allow the surface to cool before touching. |
Open the lower front door.
Note: To avoid overexposing the photoconductor units, do not leave the lower front door open longer than 10 minutes. |
Pull the jammed paper up and out to remove it from behind the toner cartridge area.
Note: Make sure all paper fragments are removed. |
Close the lower front door.
Close the upper front door.
Touch Continue.
Open the upper front door.
![]() | CAUTION—HOT SURFACE: The inside of the printer might be hot. To reduce the risk of injury from a hot component, allow the surface to cool before touching. |
Open the lower front door.
Note: To avoid overexposing the photoconductor units, do not leave the front door open longer than 10 minutes. |
Pull the paper forward if it is lodged under the photoconductor units.
Note: You may need to remove the photoconductor units if the paper is lodged too tightly under them. |
Remove each photoconductor unit, and then place it on a flat surface.
Remove the jammed paper, and then replace each photoconductor unit.
Close the lower front door.
Close the upper front door.
Touch Continue.
Open the upper front door, and then open the lower front door.
Warning—Potential Damage: To avoid overexposing the photoconductors, do not leave the front doors open for more than 10 minutes. |
![]() | CAUTION—HOT SURFACE: The inside of the printer might be hot. To reduce the risk of injury from a hot component, allow the surface to cool before touching. |
Determine where the jam is located, and then remove it:
If paper is visible under the fuser, then grasp it on each side and pull it forward.
If paper is not visible, then you will need to remove the fuser unit.
Warning—Potential Damage: Do not touch the center of the fuser unit. Doing so may cause your fingers to touch the roller underneath the fuser unit. Touching the fuser roller will damage the fuser. |
Turn the screws on the fuser to the left to loosen them.
Lift the handholds on each side of the fuser, and then pull forward to remove it.
Remove the jammed paper.
Align the fuser unit using the handholds on each side, and then place it back into the printer.
Turn the screws to the right to fasten the fuser securely.
Close the lower front door, and then close the upper front door.
Touch Continue.
If the paper is visible in the standard exit bin, then grasp the paper and pull it away from the bin.
Open the upper front door, and then open the lower front door.
Warning—Potential Damage: To avoid overexposing the photoconductors, do not leave the front doors open for more than 10 minutes. |
![]() | CAUTION—HOT SURFACE: The inside of the printer might be hot. To reduce the risk of injury from a hot component, allow the surface to cool before touching. |
Grasp the paper on each side and pull it forward.
Close the lower front door, and then close the upper front door.
Touch Continue.
Open the upper front door, and then open the lower front door.
Warning—Potential Damage: To avoid overexposing the photoconductors, do not leave the front doors open for more than 10 minutes. |
![]() | CAUTION—HOT SURFACE: The inside of the printer might be hot. To reduce the risk of injury from a hot component, allow the surface to cool before touching. |
If the paper is jammed behind the fuser, then remove the fuser:
Warning—Potential Damage: Do not touch the center of the fuser unit. Doing so may cause your fingers to touch the roller underneath the fuser unit. Touching the fuser roller will damage the fuser. |
Turn the screws on the fuser to the left to loosen them.
Lift the handholds on each side of the fuser unit, and then pull forward to remove it.
Place the fuser on a flat surface.
Pull the paper gently out of the printer or up toward the standard exit bin to remove it.
Reinstall the fuser:
Align the fuser unit using the handholds on each side, and then place it back into the printer.
Turn the screws to the right to fasten the fuser securely.
Close the lower front door, and then close the upper front door.
Touch Continue.
Grasp paper that is visible in the standard exit bin, and pull it away from the bin.
Open the upper front door.
![]() | CAUTION—HOT SURFACE: The inside of the printer might be hot. To reduce the risk of injury from a hot component, allow the surface to cool before touching. |
Open the lower front door.
Grasp the paper on each side, and pull it out gently.
Close the lower front door.
Close the upper front door.
Touch Continue.
Remove Tray 1.
Open the upper front door, and then open the lower front door.
![]() | CAUTION—HOT SURFACE: The inside of the printer might be hot. To reduce the risk of injury from a hot component, allow the surface to cool before touching. |
Pull the jam straight up to remove it.
Pull out on the release tabs to allow the front door to split.
Pull straight out to remove any jammed paper.
Close the lower front door, and then close the upper front door.
Reinsert Tray 1.
Touch Continue.
Open Tray 1, and then pull the jammed pages straight up and out.
Close Tray 1.
Touch Continue.
Open Tray 1, and then pull the jammed pages up and out.
Close Tray 1.
Touch Continue.
Open the specified tray, and then pull the jammed pages out.
Close the tray.
Touch Continue.