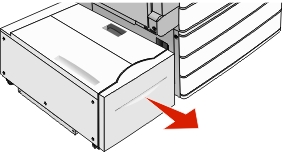
Open Tray 1.
Firmly grasp the jammed paper on each side, and then gently pull it out.
Close Tray 1.
If necessary, touch Continue, jam cleared from the printer control panel.
| Note: Make sure all paper fragments are removed when pulling out any jammed paper. |
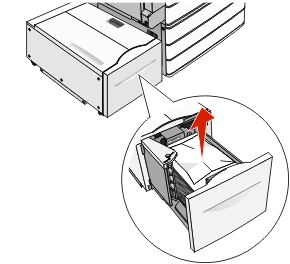
Open Tray 1.
Firmly grasp the jammed paper on each side, and then gently pull it out.
Close Tray 1.
If necessary, touch Continue, jam cleared from the printer control panel.
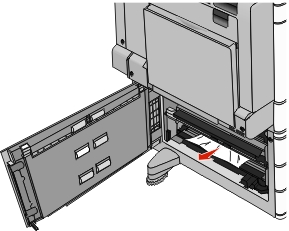
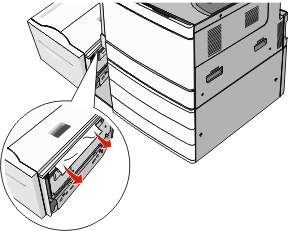
Check door C, and then firmly grasp the jammed paper and then pull it out.
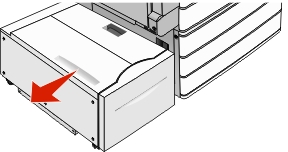
Open the specified tray.
Firmly grasp the jammed paper on each side, and then gently pull it out.
Close the tray.
If necessary, touch Continue, jam cleared from the printer control panel.
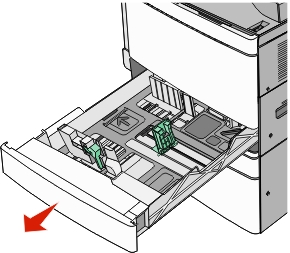
Pull out the tray until it stops.
| Warning—Potential Damage: Do not pull out the tray with too much force. Doing so may hit and injure your knees. |
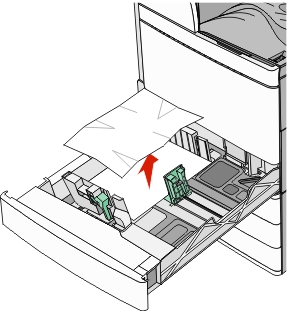
Firmly grasp the jammed paper on each side, and then gently pull it out.
Push the tray gently until it stops.
If necessary, touch Continue, jam cleared from the printer control panel.
Gently move the tray to the left until it stops.
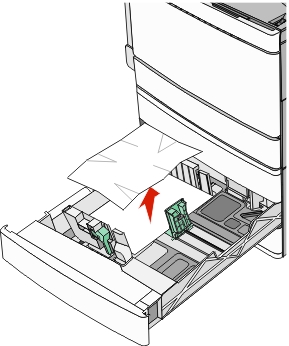
Firmly grasp the jammed paper on each side, and then gently pull it out.
Gently put the tray back into position.
If necessary, touch Continue, jam cleared from the printer control panel.
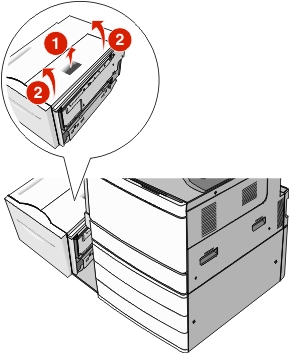
Gently move the tray to the left until it stops.
Open the top cover.
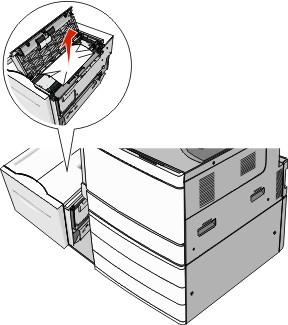
Firmly grasp the jammed paper on each side, and then gently pull it out.
Close the top cover.
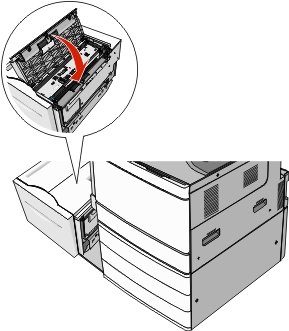
Gently put the tray back into position.
If necessary, touch Continue, jam cleared from the printer control panel.