Replacing a photoconductor unit
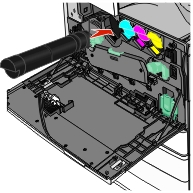
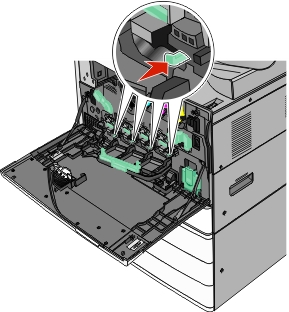
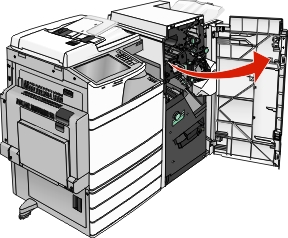
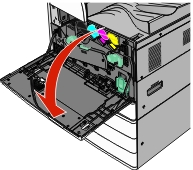
Open the front door.
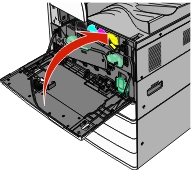
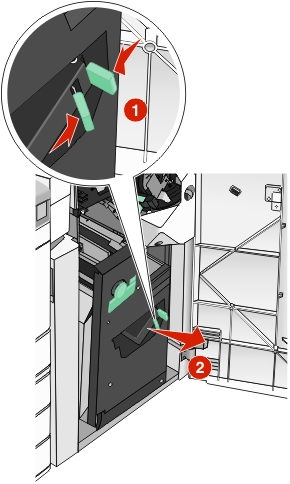
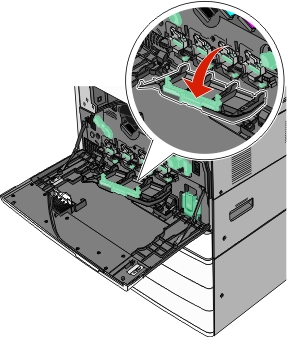
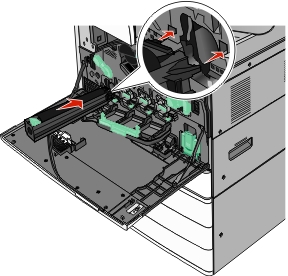
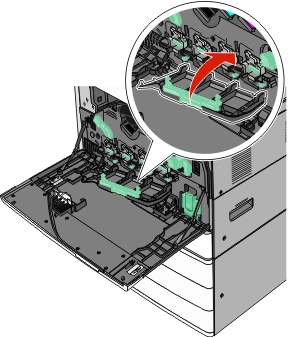
Rotate the release lever counterclockwise to open the cover.

Lower the cover.
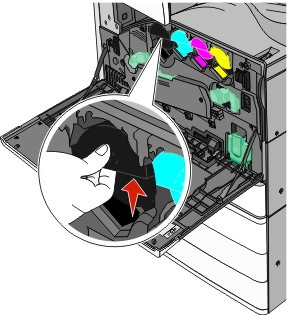
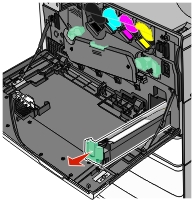
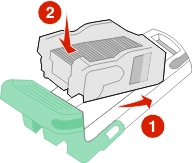
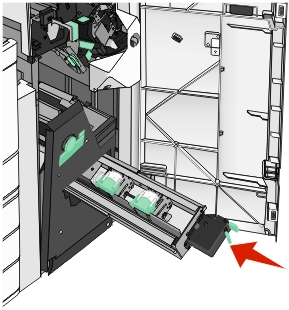
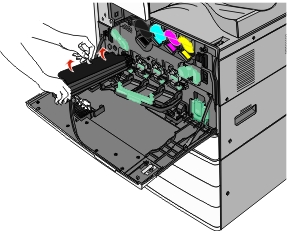
Warning—Potential Damage: To avoid overexposing the photoconductor unit, do not leave the door open for more than 10 minutes. Grasp the handle of the photoconductor unit and pull it out of the machine.
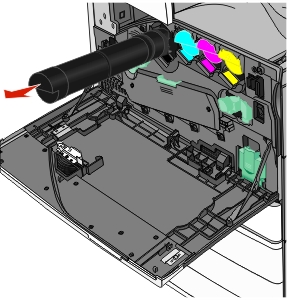
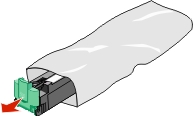
Unpack the replacement photoconductor unit.
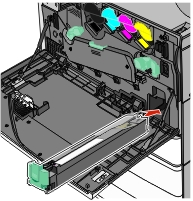
Align and insert the end of photoconductor unit.
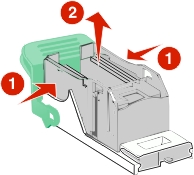
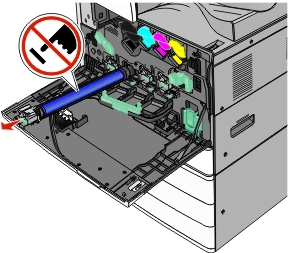
Remove the tape from the top of the photoconductor unit.
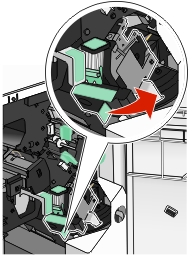
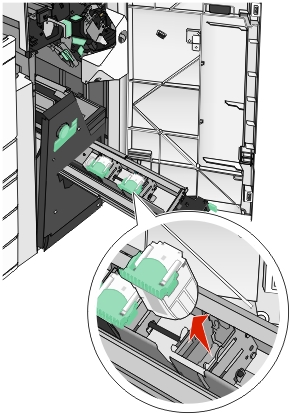
Push the tab forward to insert the photoconductor unit.
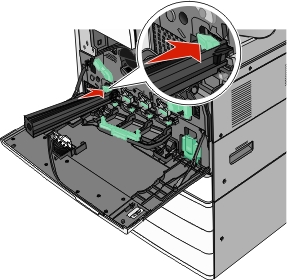
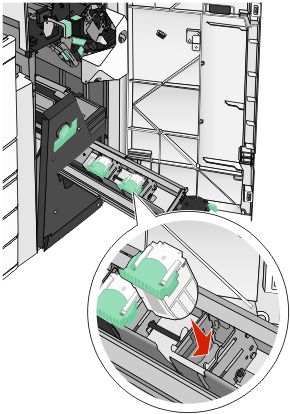
Push the photoconductor unit until it clicks into place

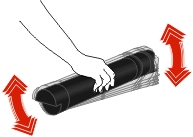
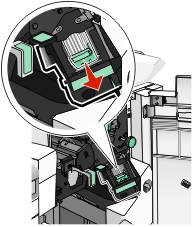
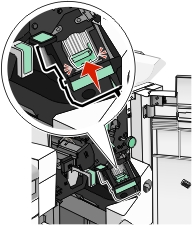
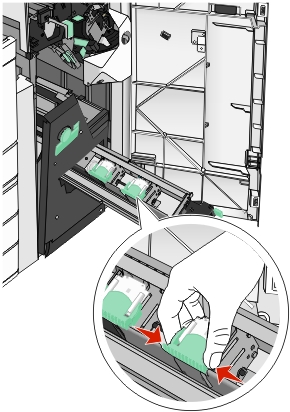
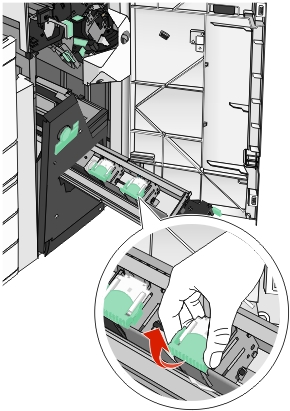
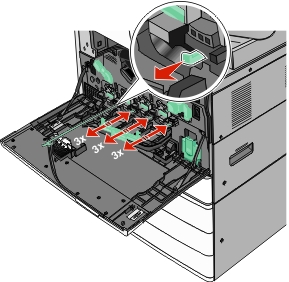
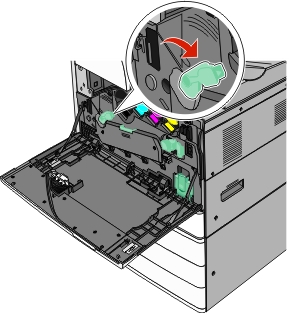
Gently pull the printhead wipers out until it stops, and then slowly slide them back into place.
Close the cover.
Rotate the release lever clockwise to lock the cover.
Close the front door.