Removing a used cartridge
- Make sure the All-In-One power light is on.
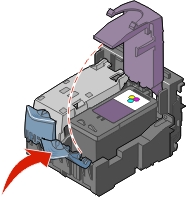
- Open the scanner unit. The cartridge carrier moves and stops at the loading position unless the All-In-One is busy.
- Press the cartridge lever to raise the cartridge lid.
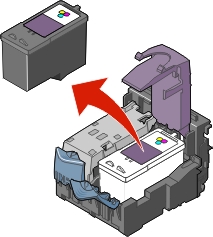
- Remove the old cartridge. To recycle the old cartridge, see Recycling Lexmark products.
|
Note: |
If you are removing both cartridges, repeat steps 3 through 4 for the second cartridge. |
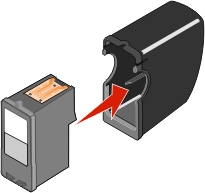
- When removing the photo cartridge to replace it with a black cartridge, or when removing the black cartridge to replace it with a photo cartridge, store the cartridge not being used in the storage unit provided.
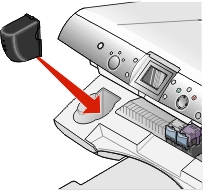
- Place the storage unit in the cartridge storage area in the All-In-One.
Continue Installing the print cartridges, and then close the scanner unit to resume a print, copy, or scan job.
Related topics
Opening the scanner unit
Closing the scanner unit
Installing the print cartridges
Preserving the print cartridges