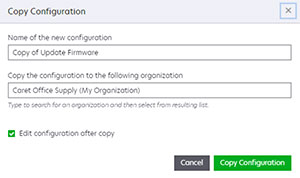
Creating a configuration
From the Fleet Management portal, do either of the following:
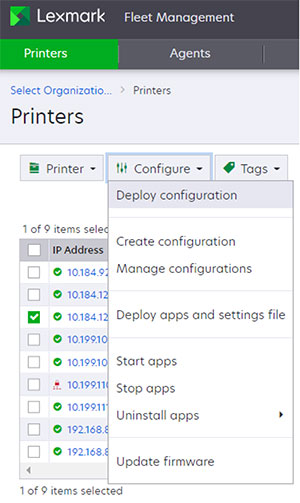
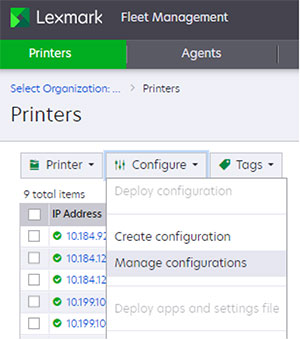
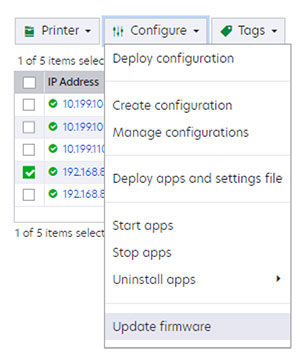
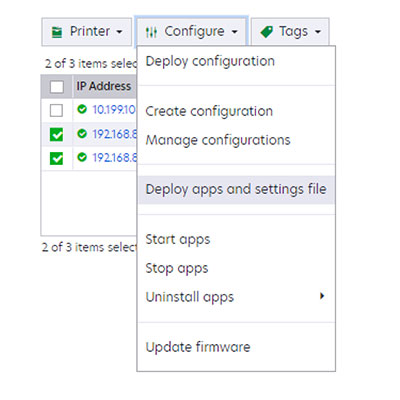
Click Printers > Configure > Create Configuration.
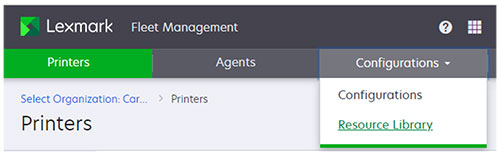
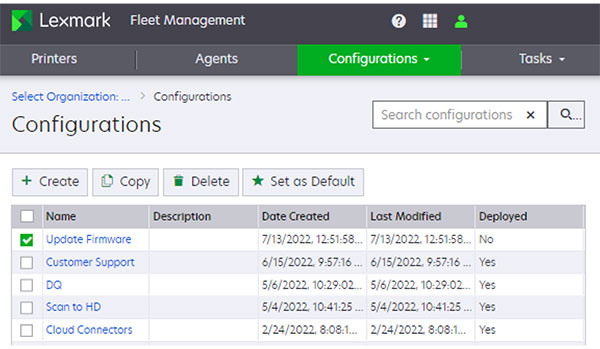
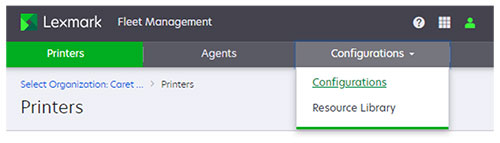
Click Configurations > Configurations > Create.
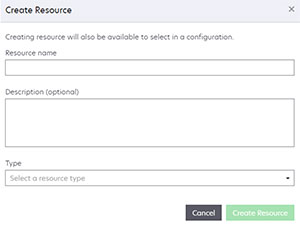
In the Create Configuration page, type a unique name and description.
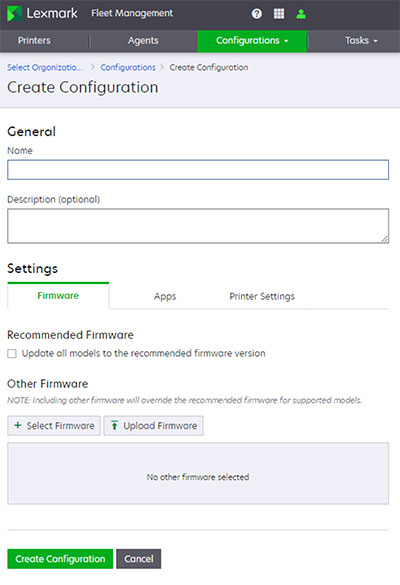
Select one or more of the following:
Firmware
The latest recommended Firmware versions
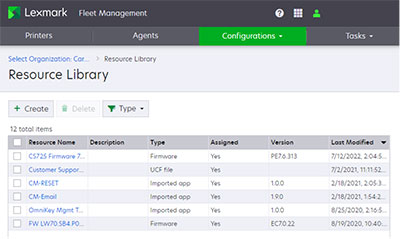
Special version previously uploaded as a resource in Cloud Fleet Management
Apps
The latest version of the selected eSF applications
Special version previously uploaded as a resource in Cloud Fleet Management
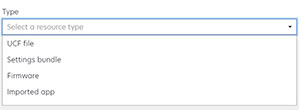
Printer Setting Files
UCF or setting bundle files previously uploaded as a resource in Cloud Fleet Management
Click Create Configuration.
Firmware
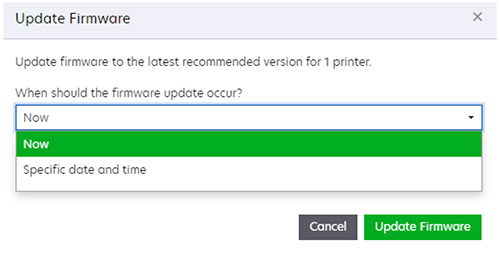
A configuration can be set up to deploy printer firmware. The firmware can be the latest recommended versions or the selected versions, previously uploaded as a resource in Cloud Fleet Management.
Notes:
- If the Recommended Firmware option is selected, the latest recommended version available whenever the configuration is deployed, will be used.
- Firmware is deployed first, followed by apps and printer settings.
Recommended firmware
Select Update all models to the recommended firmware version to deploy the latest recommended version of firmware version. This deploys the latest recommended version whenever the configuration is deployed.
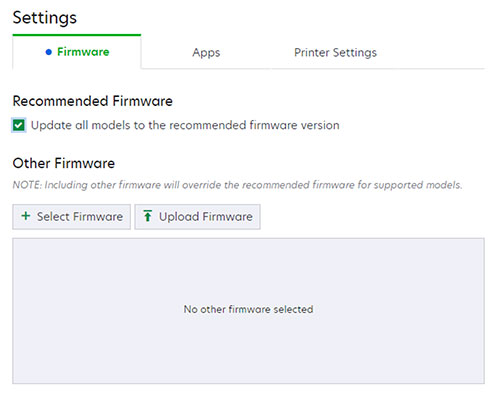
Other firmware
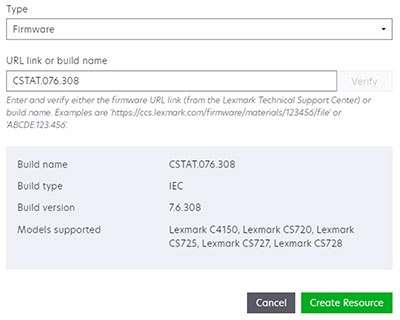
You can click Select Firmware to select a specific version from the Resource Library. Once you select a specific firmware, it overrides Update all models to the recommended firmware version setting for models that use the specific firmware version. Multiple firmware versions can be selected, but only one version per printer model is allowed.
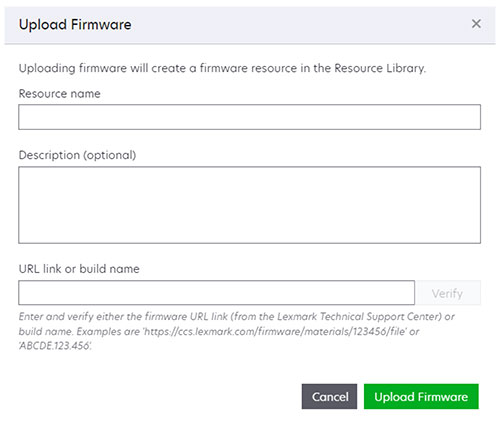
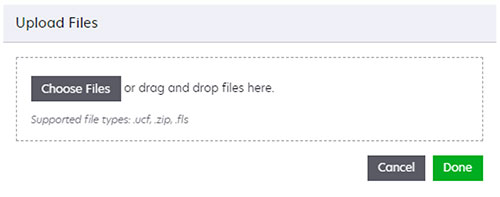
Specific firmware can also be uploaded to the Resource Library and automatically selected by clicking Upload Firmware, and then completing the form. For more information, see Using Cloud Print Management clients.
Apps
A configuration can deploy eSF applications to printers. The applications deployed can be standard eSF applications or the ones uploaded to the Resource Library.
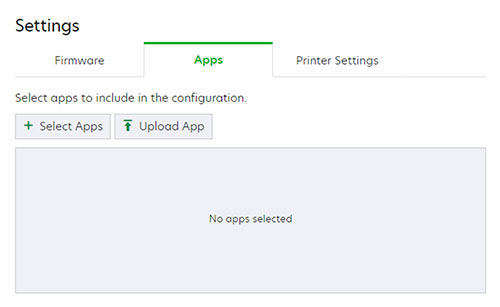
Select Apps
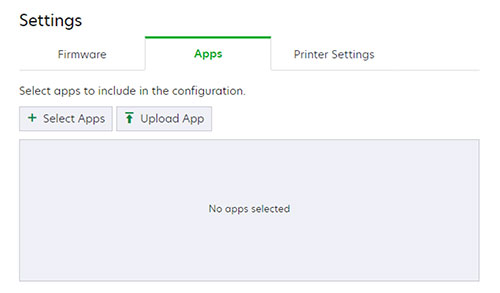
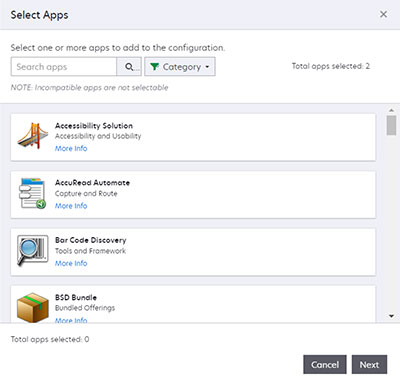
Click Select Apps to see eSF applications available for deployment
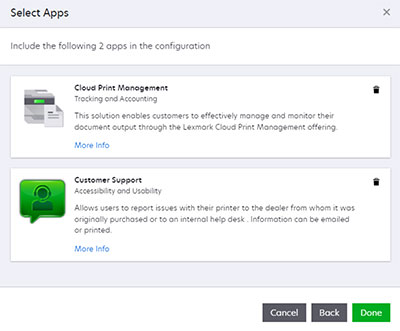
This list contains both the standard eSF applications, and those previously uploaded to the Resource Library. You can select one or more applications from the list, and then click Next to review your selection.
After reviewing the form, click Done.
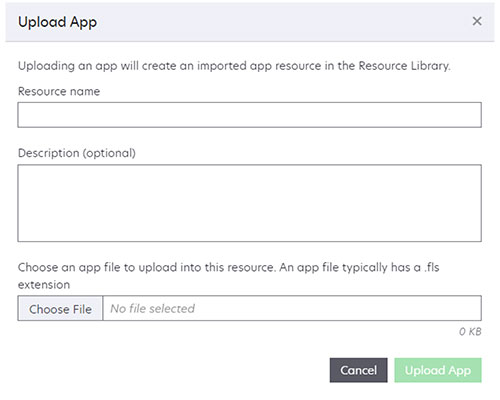
Upload Apps
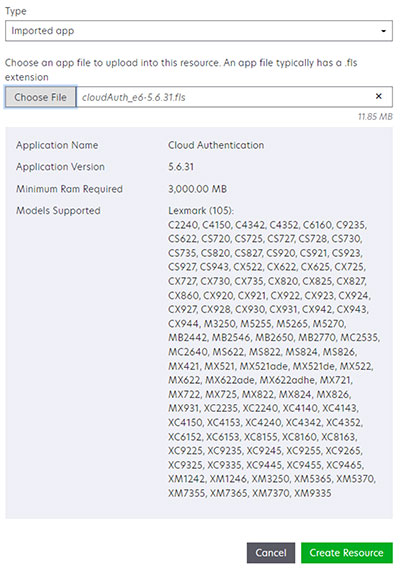
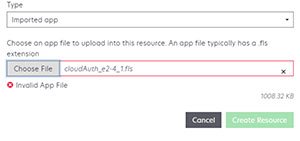
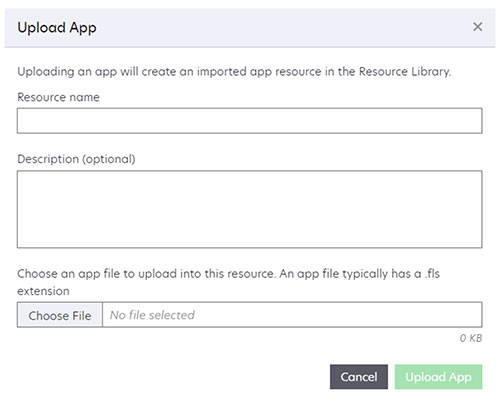
An eSF application can be uploaded to the Resource Library and automatically selected by clicking Upload Apps, and then completing the form. The application file selected must be an .fls file. The uploaded application will be automatically added to the list of applications included in the configuration. For more information, see Using Cloud Print Management clients.
Applications that have been uploaded to the Resource Library can be selected from the Apps catalog. Apps from the Resource Library are shown with the category type of Imported app.
App settings
eSF applications may have configurable settings that can be deployed with the application. The settings available for each application can be viewed by clicking the arrow next to the name of the eSF application. Edit the settings to fit your specific needs. Repeat this process for each application in the configuration.

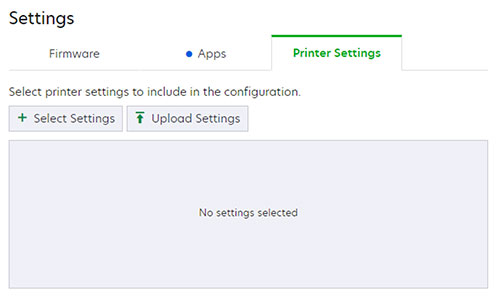
Printer Settings
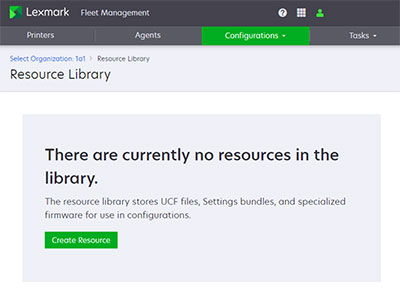
A configuration can be used to deploy printer settings files. The settings file must be uploaded to the Resource Library before they can be deployed.
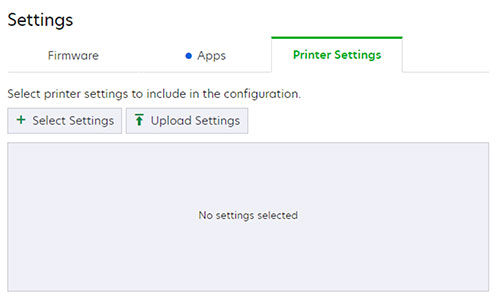
Select Settings
Settings files that have been previously uploaded to the Resource Library can be selected by clicking Select Settings. To establish the proper settings for your needs, select one or more setting files, and then click Select Settings.
Upload Settings
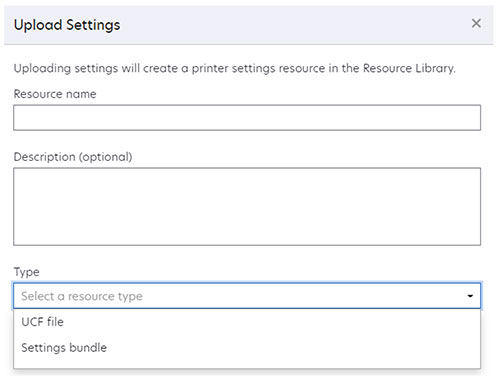
A printer settings file can be uploaded to the Resource Library and automatically selected by clicking Upload Settings and completing the form. The settings file must be a UCF or a Setting Bundle file. The uploaded settings file is automatically added to the list of settings files included in the configuration. For more information, see Using Cloud Print Management clients.