Using notification policies
Notification policies overview
Notification policies are a Fleet Management feature that lets the Fleet Management Administrator send email notifications when certain conditions occur. You can set the policies to send emails when toner is low or when a printer fails to communicate with Lexmark Cloud Services. Notification policies are available for:
Supplies
Printer Information
Supplies policies
Generates an email when the toner level threshold has been met or exceeded. Multiple supplies policies can be created with different threshold settings to provide notifications as supplies are depleted.
Supplies policies are available for:
Toner
Maintenance Kit
Fuser
Photoconductors
Waste Toner Bottle
Transfer Module
Printer Information policies
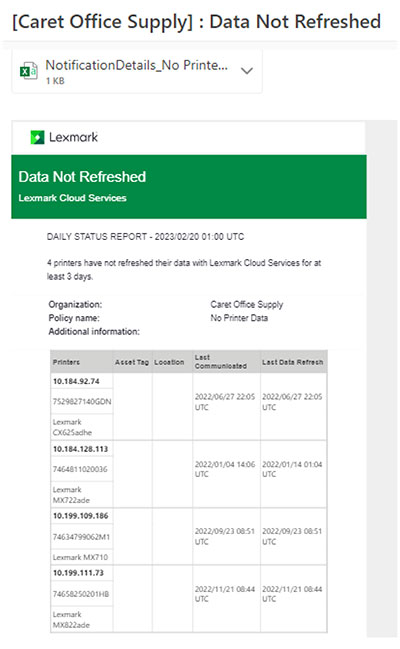
Generates an email when a printer fails to communicate or report its data to Lexmark Cloud Services after the interval threshold has been met or exceeded.
Printer Information policies are available for:
Last data refreshed
Last communicated
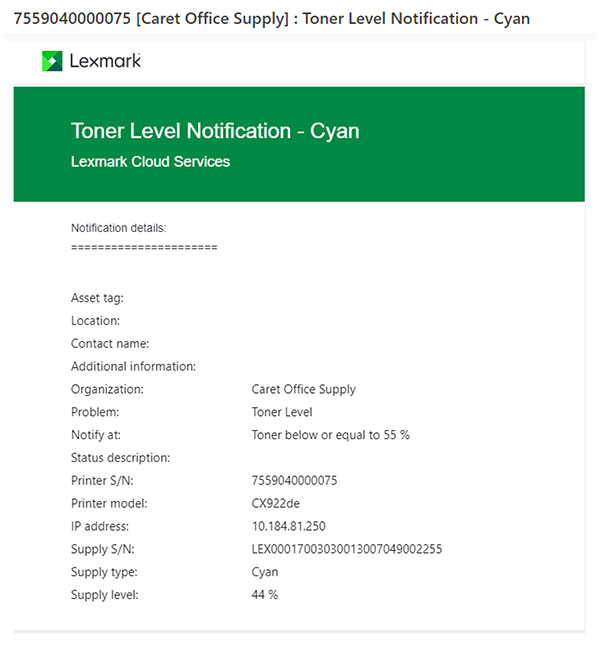
The following is an example of an email generated by a Notification Policy.
Creating a Notification Policy
Creating a supplies policy
Supplies policies notify users by email when the toner level of their printers reaches a specified percentage.
Note: You can create up to 50 supplies policies for an organization.
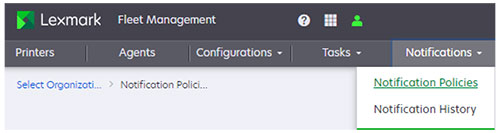
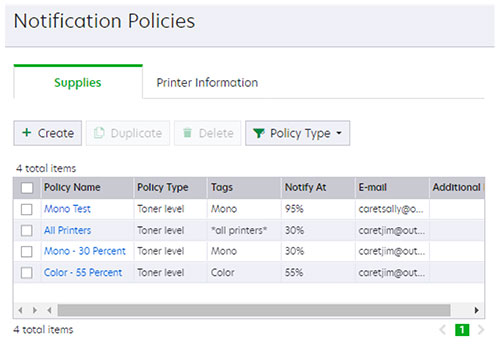
From the Fleet Management web portal, click Notifications > Notification Policies.
Click the Supplies tab.
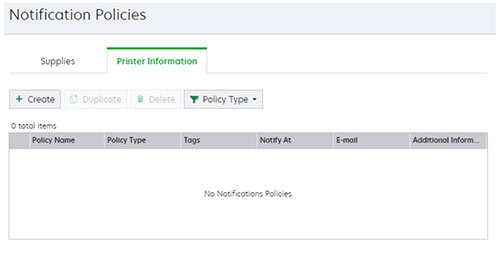
Note: If there are existing supplies policies, then the Notification Policies page shows them.
On the Notification Policies page, click Create.
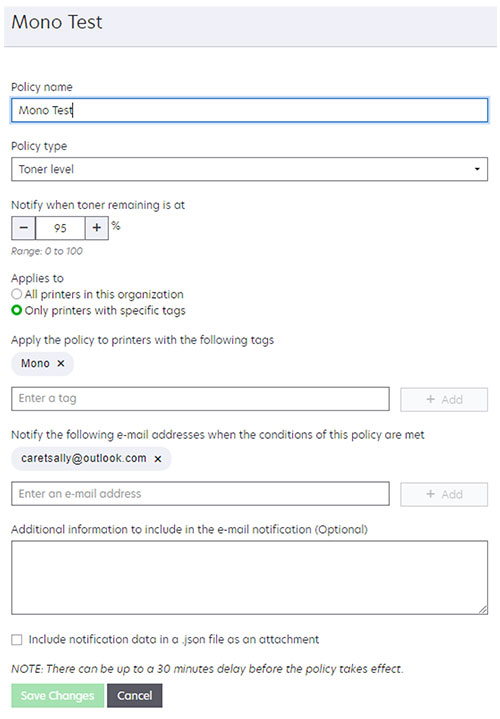
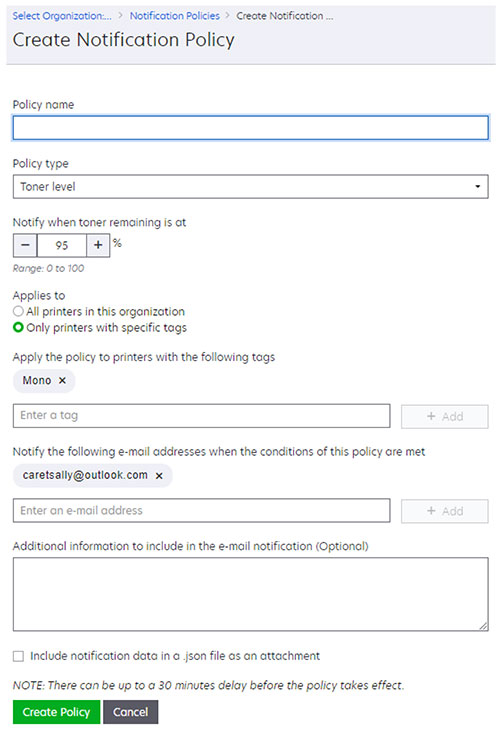
Configure the following:
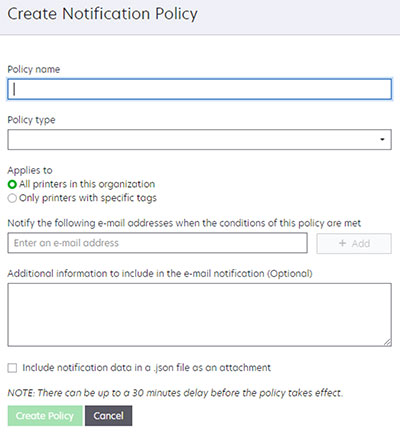
In the Policy name field, type the name of the policy.
The following characters are not allowed in a Policy Name:
< >
&
#
?
`
~
!
%
^
*
|
+
=
;
;
"
{ }
[ ]
\ /
In the Policy type menu, select a supplies option.
In the “Notify when toner remaining is at” section, set the percentage at which the notification is sent.
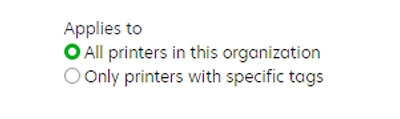
In the Applies To section, select either of the following:
All printers in this organization—Apply the policy to all printers in the organization.
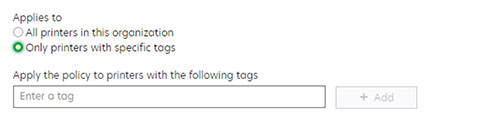
Only printers with specific tags—Apply the policy to specific printers based on the tags entered. For more information on tags, see Creating tags and Assigning tags to printers.
In the “Apply the policy to printers with the following tags” field, type the tags, and then click Add.
Note: You can apply up to 10 tags to a policy.
In the “Notify the following e-mail addresses when the conditions of this policy are met” field, type the recipient email addresses, and then click Add.
Notes:
- You can type up to 10 email addresses.
- Make sure that the email address is valid.
- You can type an email address from outside your organization.
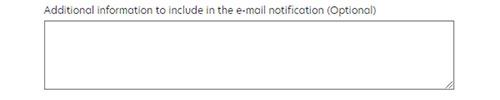
In the “Additional information to include in the e-mail notification (Optional)” field, type any information that you want to appear in the email body. For example, printer location or special access instructions.
Select Include notification data in a .json file as an attachment to attach a JSON file of the data associated with the notification.
The following is an example of an email notification.
The following is an example of notification data in JSON format.
Creating a printer information policy
Printer information policies notify users by email when a printer fails to communicate with or report its data to Lexmark Cloud Services. Emails are sent after a specified time has elapsed.
Note: You can create up to 50 policies.
From the Fleet Management web portal, click Notifications > Notification Policies.
Click Printer Information tab.
Note: If there are existing printer information policies, then the Notification Policies page shows them.
On the Notification Policies page, click Create.
Configure the following:

In the Policy name field, type the name of the policy.
The following characters are not allowed in a Policy Name:
< >
&
#
?
`
~
!
%
^
*
|
+
=
;
;
"
{ }
[ ]
\ /
In the Policy type menu, select either of the following:
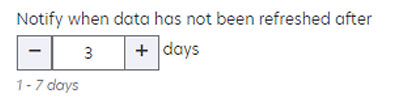
Last data refresh—Send an email notification based on the number of days since the last update of printer information or counters.
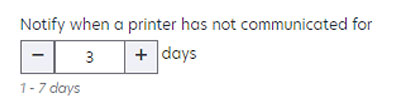
Last communicated—Send an email notification based on the number of days since the printer last communicated with Lexmark Cloud Services.
e-mail
In the Applies To section, select either of the following:
All printers in this organization—Apply the policy to all printers in the organization.
Only printers with specific tags—Apply the policy to specific printers based upon the tags entered. For more information on tags, see Creating tags and Assigning tags to printers.
In the “Apply the policy to printers with the following tags” field, type the tags, and then click Add.
Note: You can apply up to 10 tags to a policy.
In the “Notify the following e-mail addresses when the conditions of this policy are met” field, type the recipient email addresses, and then click Add.
Notes:
- You can type a maximum of 10 email addresses.
- Make sure that the email address is valid.
- You can type an email address from outside your organization.
In the “Additional information to include in the e-mail notification (Optional)” field, type any information that you want to appear in the email body. For example, printer location or special access instructions.
Select Include notification data in a .csv file as an attachment to attach a CSV file of the data associated with the notification.
The following is an example of a notification email for last data refresh:
The following is an example of a notification email for last communicated:
The following is an example of the notification data in CSV format:
Managing notification policies
Modifying a notification policy
You can modify notification policies at any time.
From the Fleet Management web portal, click Notifications > Notification Policies.
Select the Supplies or Printer Information tab.
Click the name of the policy that you want to modify.
Modify the policy, and then click Save Changes.
Duplicating a notification policy
You can duplicate notification policies to create additional policies.
From the Fleet Management web portal, click Notifications > Notification Policies.
Select the Supplies or Printer Information tab.
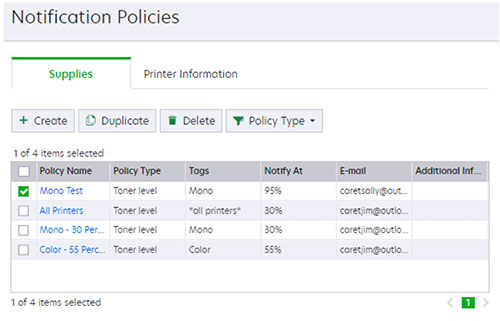
Select an existing policy, and then click Duplicate.
Type a new policy name, and then modify the details as required.
Notes:
- When duplicating a policy, the Create Notification Policy page is prefilled with information from the policy that you are duplicating.
- Make sure that the new policy has a unique name.
Click Create Policy.
Deleting a notification policy
You can delete notification policies that are no longer needed.
From the Fleet Management web portal, click Notifications > Notification Policies.
Select the Supplies or Printer Information tab.
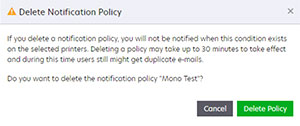
Select one or more policies, and then click Delete.
Click Delete Policy.
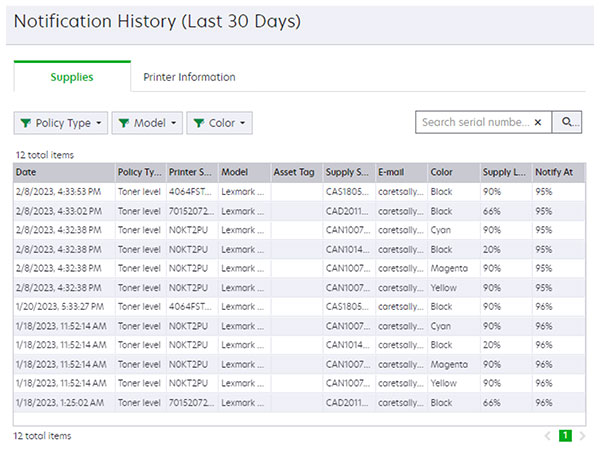
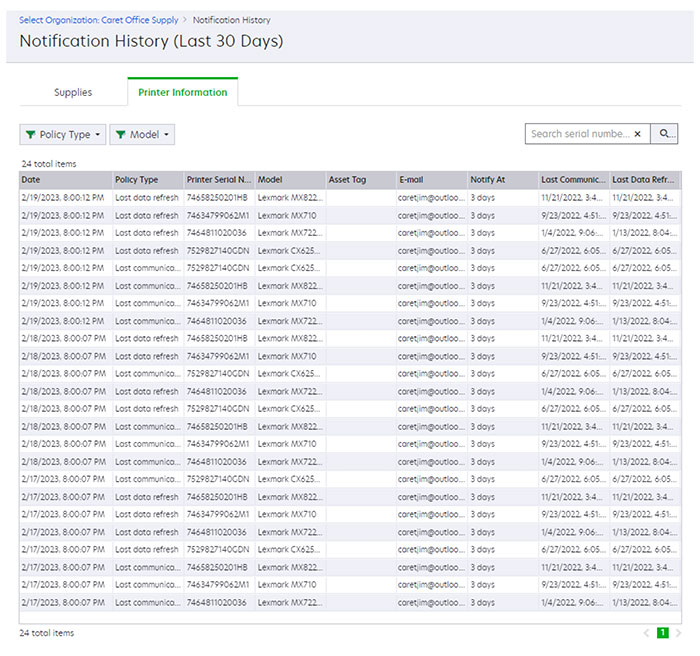
Viewing notification history
The Notification History menu option shows the notifications that were generated in the last 30 days.
From the Fleet Management web portal, click Notifications > Notification History.
Select the Supplies or Printer Information tab.
You can view the following notifications generated in the last 30 days: