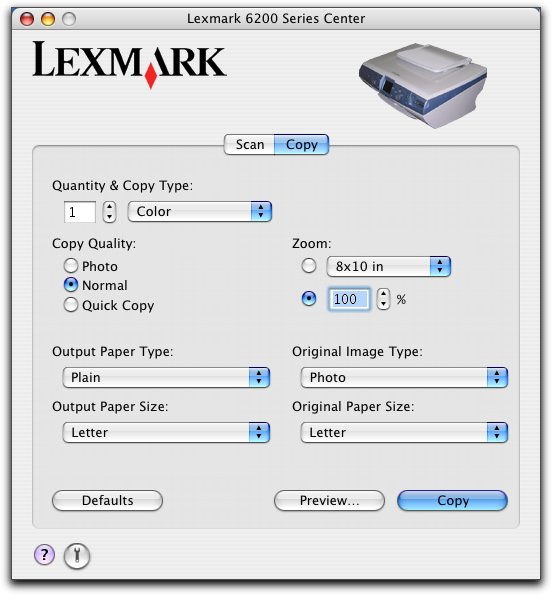
The Copy tab provides the basic functions for most of your copy jobs. Customize the settings in the Copy tab according to the type of project you want to create. The Copy tab is set to these default settings:
Quantity: | 1 |
Copy Type: | Color |
Copy Quality: | Normal |
Output Paper Type: | Plain |
Output Paper Size: | Letter |
Zoom: | 100% |
Original Image Type: | Photo |
Original Paper Size: | Letter |

Quantity and Copy Type | Choose the quantity and color for your copies.
| ||
Copy Quality | Select a quality setting for your copies.
| ||
Output Paper Type | Choose the type of the paper that you will use for printing. | ||
Output Paper Size | Choose the size of the paper that you will use for printing. | ||
Zoom | Enlarge or reduce your copies by percent, or choose a preset size from the pop-up menu.
| ||
Original Image Type | Choose the type of image corresponding to your original document. This activates the image enhancement function in the All-In-One software and produces realistic copies of your original documents. Choose from Photo, Text, Mixed, or Line Drawing. | ||
Original Paper Size | Choose a paper size for your original document. If you do not know the original size, choose Auto. The All-In-One software detects the size and adjusts the copying function accordingly. Portrait orientation is the default for all other paper types in the Original Paper Size menu.
| ||
Defaults | Revert to factory default settings. | ||
Preview... | Open the Copy dialog to view the image and fine-tune your copy settings. | ||
Copy | Start copying. |
Click ![]() to go to the Help Center for more information. Click
to go to the Help Center for more information. Click ![]() to open the Lexmark 6200 Series Utility.
to open the Lexmark 6200 Series Utility.