Replacing a photoconductor unit
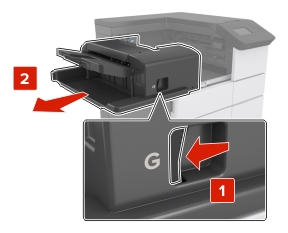
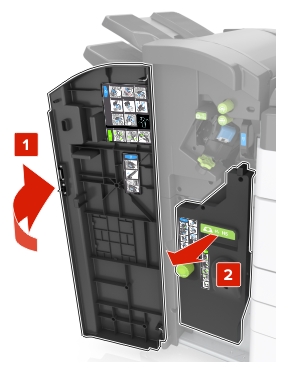
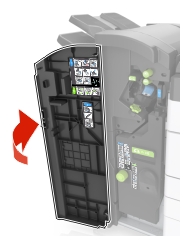
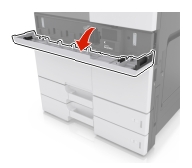
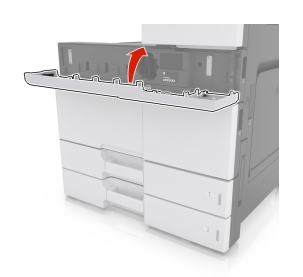
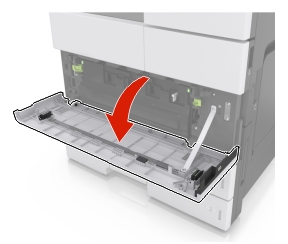
Open the bottom front door.
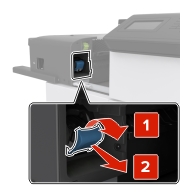
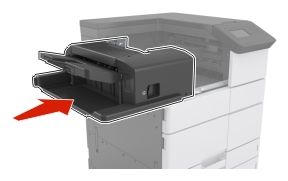
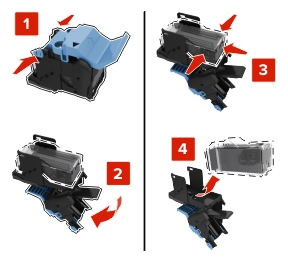
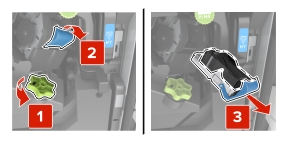
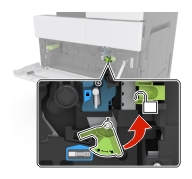
Remove the waste toner bottle.
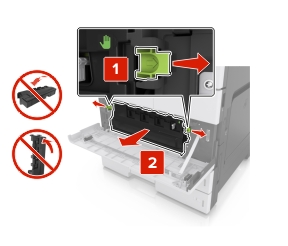
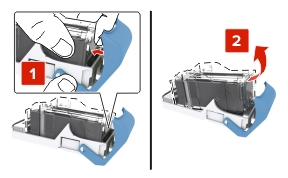
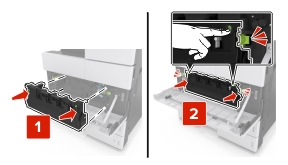
Unlock the photoconductor unit.
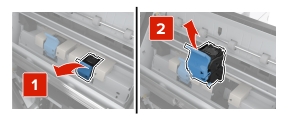
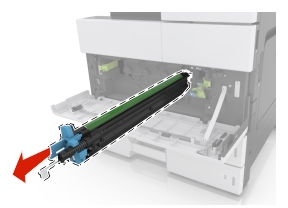
Remove the photoconductor unit.
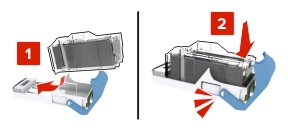
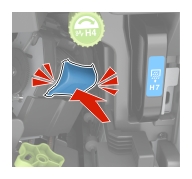
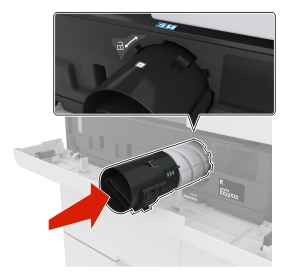
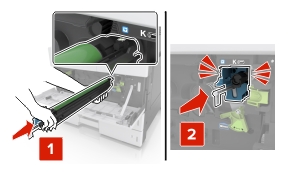
Unpack the new photoconductor unit.
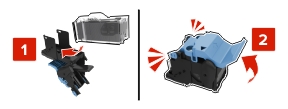
Warning—Potential Damage: Do not expose the photoconductor unit to direct light for more than 10 minutes. Extended exposure to light may cause print quality problems. Warning—Potential Damage: Do not touch the photoconductor drum. Doing so may affect the print quality of future print jobs. Install the photoconductor unit.
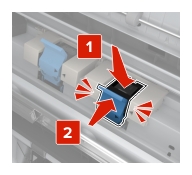
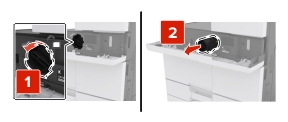
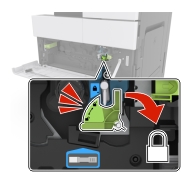
Lock the photoconductor unit.
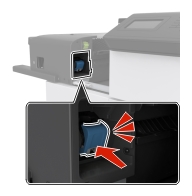
Reinstall the waste toner bottle.
Close the bottom front door.