
The printer has one standard 550-sheet tray (Tray 1) and may have up to four optional 550-sheet trays including the special media tray. For narrow paper sizes such as A6 and envelopes, use the special media tray. For more information, see Loading the optional 550-sheet special media tray.
| | CAUTION—POTENTIAL INJURY: To reduce the risk of equipment instability, load each paper drawer or tray separately. Keep all other trays closed until needed. |
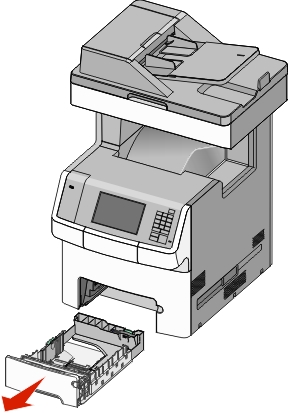
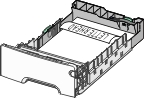
Pull the tray completely out.
| Note: Do not remove trays while a job prints or while appears on the display. Doing so may cause a jam. |
Squeeze and slide the width guide to the correct position for the paper size you are loading.
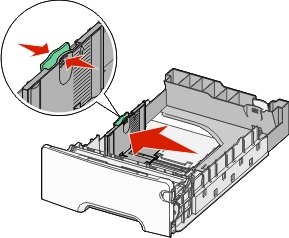
| Note: Use the paper size indicators at the bottom of the tray to help position the length and width guides. |

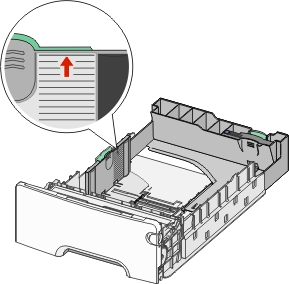
Squeeze and slide the length guide to the correct position for the paper size you are loading.
Notes:

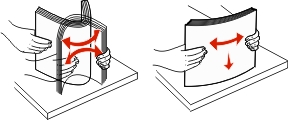
Flex the sheets back and forth to loosen them. Do not fold or crease the paper. Straighten the edges on a level surface.
Load the paper stack toward the back of the tray with the recommended printable side faceup.
Notes:
One-sided printing | Two-sided (Duplex) printing |
|---|---|
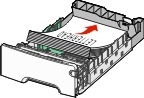 |  |
| Note: Make sure paper does not exceed the maximum paper fill indicator located on the left side of the tray. |
| Warning—Potential Damage: Overloading the tray can cause paper jams and possible printer damage. |
Insert the tray.

From the printer control panel, verify the paper size and paper type setting for the tray based on the paper you loaded.