Finding and printing your photos
Creating and printing a scrapbook or album page
Printing borderless photos
Finding and printing your photos
If you use a PictBridge-enabled digital camera, you can print photos without using a computer. You do this by using options on the All-In-One control panel. For more information, see Using a PictBridge-enabled camera to control printing.
However, you gain the capability to edit and position photos that are stored or scanned if you print using the software installed on your computer. You can find and place specific photos in pre-defined layout areas using the Lexmark All-In-One Center.
Photos stored on a computer
- Load photo paper. For more information, see Loading paper into the paper support.
- Open the Lexmark Imaging Studio. For more information, see Using the Lexmark Imaging Studio.
- Click the Browse Photos button.

The Lexmark All-In-One Center appears with the Saved Images tab open.
- Click Show Folders.
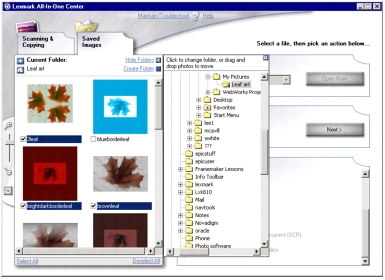
- In the directory in the right panel, select the folder where your photos are stored.
- Click Hide Folders to close the directory in the right panel.
- Select the photos that you want to print by clicking on each photo.
- Click Next in the Photo Prints section.
Note: This option will not appear if you have not made any selections.
The Fast Pics window appears.
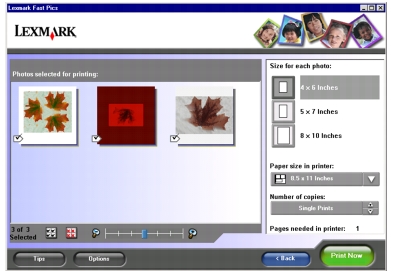
- Specify the size for each photo, the blank paper size in the All-In-One, and the number of copies.
- Click Print Now.
Creating and printing a scrapbook or album page
- Load photo paper. Loading paper into the paper support.
- Right-click the Lexmark Imaging Studio icon in the system tray.
- Select Lexmark 3300 Series All-In-One Center. For more information, see Using the Lexmark Imaging Studio.
The Lexmark All-In-One Center appears with the Saved Images tab open.
- Click Show Folders.
- Browse to the folder location of your photos.
- Click Hide Folders.
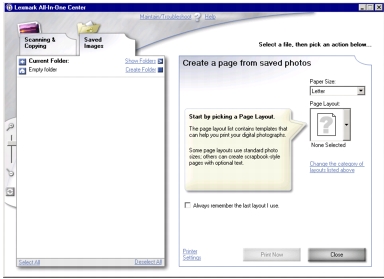
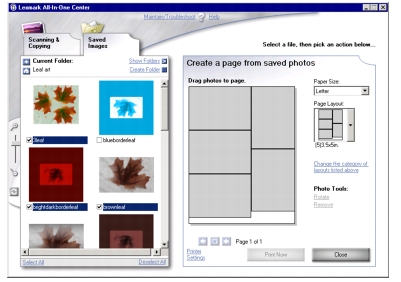
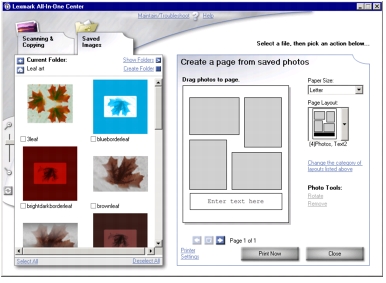
- Select Print an album page with various photo sizes.
Different features appear.
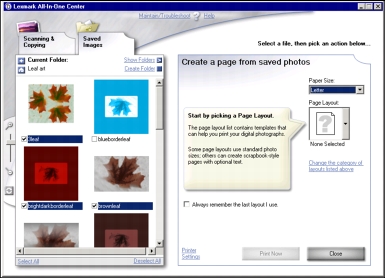
- Select a Paper Size for your photos from the Create a page from saved photos section.
- Under Page Layout, click Change the category of layouts listed above to limit layout choices.
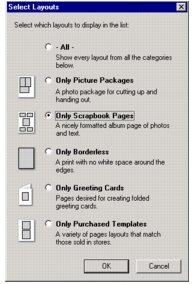
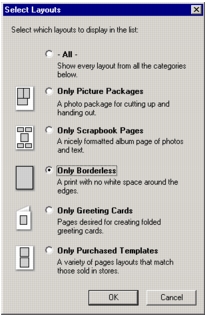
A dialog box appears.

- Select one of the following options:
- All
- Only Picture Packages
- Only Scrapbook Pages
- Only Borderless
- Only Greeting Cards
- Only Purchased Templates
- Click OK.
Limited options appear for Page Layout.
- Select one of the layout options.
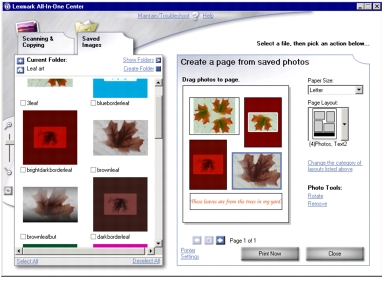
- Drag the photos (or scanned pages) onto the page in whatever combination you want.
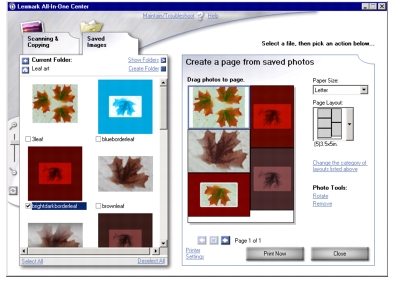
Note: Right-click the photo on the page for more editing options.
- Click Print Now to print the scrapbook page.
Adding text captions to photos
- Open the Lexmark 3300 Series All-In-One Center.
- Click the Saved Images tab.
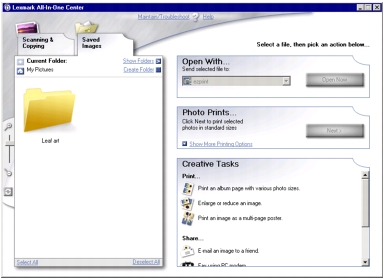
- Under Creative Tasks, click Print an album page with various photo sizes.
The options change.
- Under Page Layout, click Change the category of layouts listed above to limit layout choices if you want to limit the choices.
A dialog box appears.
- Click Change the category of layouts listed above.
- Select Only Scrapbook Pages.
- Click OK.
- Select a Paper Size for your photos.
- Select a Page Layout from the list that allows text insertion.
- Browse to find your photos on the left side.
- Drag your photos as you want them placed onto the layout on the right side.
- Click inside one of the white boxes.
A dialog box appears.
- Enter your text, format it, and click OK.
The text is placed in the box, including any formatting, such as text color, you specified.
- Click Print Now to print the photo page.
Note: Creating and printing a scrapbook or album page.
Printing borderless photos
You can print photos with no white space around the edges.
- Load photo paper. For more information, see Loading paper into the paper support.
- Right-click the Lexmark Imaging Studio icon in the system tray.
- Select Lexmark 3300 Series All-In-One Center. For more information, see Using the All-In-One Center.
- Click the Saved Images tab.
- Click Print an album page with various photo sizes.
- Click Change the category of layouts listed above.
- Select Only Borderless.
- Click OK.
- Select a Paper Size for your photos.
- Select a Page Layout from the Create a page from saved photos section.
- Drag your photos onto the page.
- Click Print Now.