Install the print cartridge
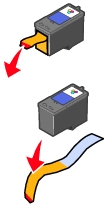
- If you are installing a new cartridge, remove the sticker and transparent tape completely from the bottom of the cartridge.
|
Warning: |
Do not touch the gold contact area on the back or the metal print cartridge nozzles on the bottom. |
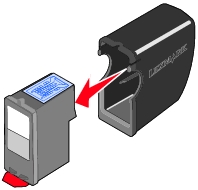
For a photo cartridge, remove the cartridge from the storage unit first.
|
Note: |
Do not discard the storage unit, as it can be used to hold the photo cartridge if you replace it with a black one. |
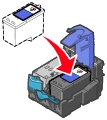
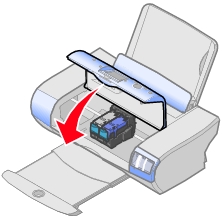
- Unless it is already open, press down on the cartridge lever to raise the cartridge lid.
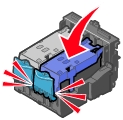
- Insert the black cartridge or photo cartridge in the left carrier or the color cartridge in the right carrier.
- Snap the lid closed.
|
Note: |
If you are installing both cartridges, repeat steps 1 - 4 for the second cartridge. |
- Close the access cover.
|
Note: |
The access cover must be closed to start a print job. |
From your printer:
When a cartridge change is detected, you will be asked if an alignment page should be printed. To align cartridges:
- Make sure that
Yes appears on the display.
- Press the Select button to print an alignment page.
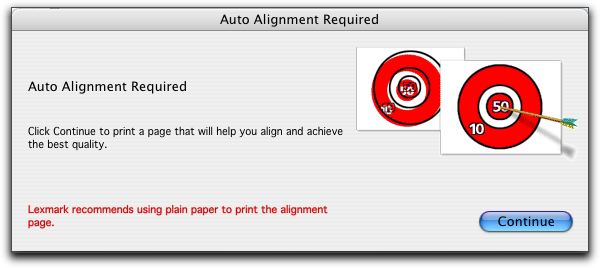
From your computer:
- After installing the cartridges, open the Lexmark P910 Series Utility. The Auto Alignment dialog appears.
- Click Continue to print the alignment page. The Alignment Status dialog appears.
- Click OK.
- Close the Lexmark P910 Series Utility.
Related topics
Align the print cartridges
Print cartridges
Remove the print cartridge
Preserve the print cartridges
Lexmark P910 Series Utility
Cartridges tab