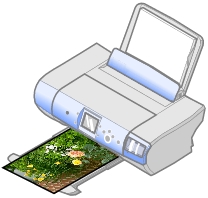
Print borderless photos
From your software application, begin by setting the margins to zero, and then adjust the image on the screen so it covers the entire page.
|
Note: |
Some applications do not let you change the margins. |
- Load photo or glossy paper.
- Customize the settings in the Page Setup dialog.
- From the software application, click File
 Page Setup... .
- From the Settings pop-up menu, choose Page Attributes.
- From the Format for pop-up menu, choose P910 Series.
- Choose a paper size. Make sure you select one of the Paper sizes supported in borderless printing.
- Select an orientation.
- Click OK.
- Customize the settings in the Print dialog.
- From the software application, click File
 Print... .
- From the Printer pop-up menu, choose P910 Series.
- From the pop-up menu that says Copies & Pages, choose Quality & Media.
- Choose a paper type. Choose Automatic or Standard Glossy/Photo.
- From the Print Quality area, select Automatic. When set at Automatic, the document is printed at the appropriate quality for the paper type loaded in the printer. You can Select a print quality other than Automatic.
- Click Preview to view your photo as it will be printed.
- Click Print.
Print your photos one at a time to prevent smudging.
To print photos directly from your memory card reader or digital camera, go to Print photos.
Related topics
Enhance photograph print quality
Print


 Page Setup... .
 Print... .