Choose a scan destination
- Open the Lexmark 2200 Series Center.
- From the Device: pop-up menu, choose Lexmark 2200 Series. The Device: pop-up menu is available only when several All-In-Ones are installed on your computer.
- Select the Scan tab.
- From the What is being scanned? area, choose the type of image that you are scanning.
- From the How will the scan be used? pop-up menu, choose how you will use the scan.
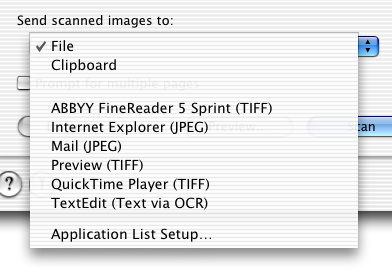
- From the Send scanned images to: pop-up menu, choose where you want to send your scanned image.

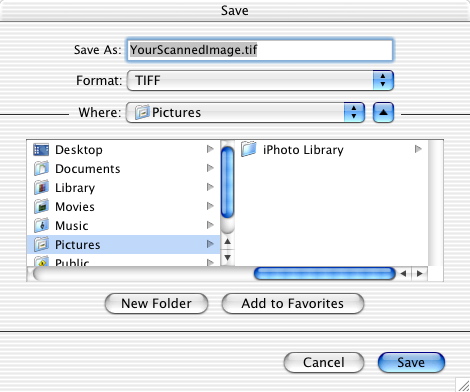
- Choose File to save your scanned image. You are prompted for a file name, an image format, and the location where you want to save the scan. Click the arrow at the right end of the Where: pop-up menu to expand the directory and view all available locations to save your image. You can also create new folders in which to save your files.

- Choose Clipboard to save your scan to the Clipboard so you can paste it into another document. Large scans may not fit the Clipboard. Scanning at high resolution to the Clipboard can take up a large amount of system memory and drastically affect system performance.
- Choose an option from the Application list to open your scanned image in your favorite application. For more information, go to Scan items directly to an application. You can open the scanned image in your fax application for faxing. For more information, go to Fax.
- Choose Application List Setup... to add, remove, and modify the applications in the Application list. For more information, go to Application List Setup.


