Creating a configuration
A configuration is a collection of settings that can be assigned and enforced to a printer or a group of printers. Within a configuration, you can modify printer settings and deploy applications, licenses, firmware, and CA certificates to printers.
-
In the Setting list, do one or more of the following:
-
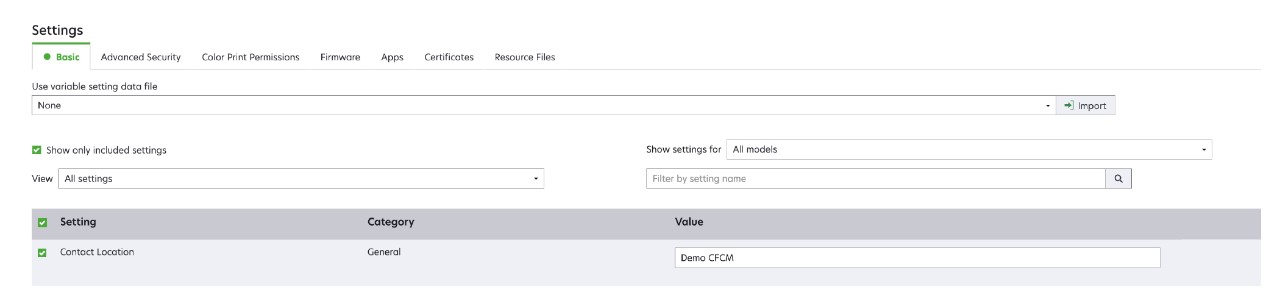
From the Basic tab, select one or more settings, and then specify the values. If the value is a variable setting, then enclose the header with . For example, . To use a variable setting file, select the file from the Use variable setting data file menu, or import the file. For more information, see Understanding variable settings.
-
Select one or more settings, and then specify the values. If the value is a variable setting, then enclose the header with . For example, . To use a variable setting file, select the file from the Use variable setting data file menu, or import the file. For more information, see Understanding variable settings.

-
If one or more certificates are added to this configuration, you can select any of the certificates from the Value drop‑down menu.
-
-
From the Advanced Security tab, select an advanced security component.
Notes:- To create an advanced security component, see Creating an advanced security component from a printer.
- You can manage the advanced security settings only when creating a configuration from a selected printer. For more information, see Creating a configuration from a printer.
-
From the Color Print Permissions tab, configure the settings. For more information, see Configuring the color print permissions.
Note: This setting is available only in configurations for supported color printers. -
From the Firmware tab, select a firmware file. If multiple versions of the same firmware are present in a configuration, only the higher firmware version is considered during conformance and enforcement. To import a firmware file, see Importing files to the resource library.
-
From the Apps tab, select one or more applications to deploy. For more information, see Creating an applications package.
Note: MVE does not support deploying applications with trial licenses. You can deploy only free applications or applications with production licenses. -
From the Certificates tab, select one or more certificates to deploy. To import a certificate file, see Importing files to the resource library.
Note: Select Use Markvision to manage device certificates for MVE to assess missing, invalid, revoked, and expired certificates, and then replace them automatically.Select either of the following options:
-
Default Device Certificate
-
Named Device Certificate
Note: By default, a user can add 10 named certificates per MVE installation and 5 named certificates per MVE configuration.
Note: For more information, see Configuring MVE for automated certificate management. -
-
From the Resource Files tab, select any of the following file types to deploy:
-
Application file (.fls)
-
Configuration bundle (.zip)
-
Universal configuration file (.ucf)
Notes:- Any option under the resource tab is not conformance checked.
- We do not recommend using multiple UCF and configuration bundles in a single configuration.
- This method is not applicable to UCF files when configuring scan to network on legacy printers. UCF files must be deployed using the Deploy file to printer action.
-
-